How Do Get to Voice Read on Mac
If you’re a Mac user, you may be wondering how to get your computer to read text aloud. VoiceOver is a built-in screen reader that can speak the text on your screen, and it’s available for free on all Apple devices.
If you’re a Mac user, you may be wondering how to get your computer to read text aloud. There are actually a few different ways to do this, and it’s actually quite easy once you know how. Here’s a quick guide on how to get started:
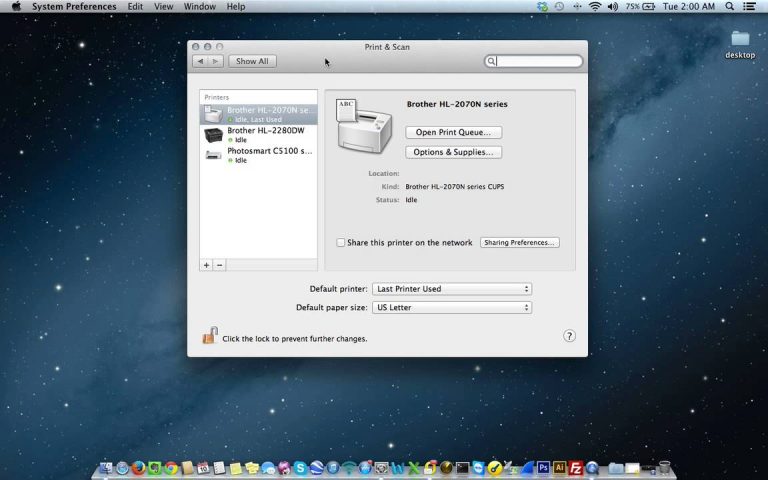
First, open up the System Preferences application. You can find this in the Dock, or by searching for it in Spotlight. Once System Preferences is open, click on the “Accessibility” icon.
Scroll down until you see the “Speech” section, and then check the box next to “Speak selected text when the key is pressed.” You can also choose a custom shortcut if you prefer.
Now that that’s all set up, simply select some text and press your chosen shortcut keys (the default is Control+Option+Command+S) and your Mac will start reading aloud!
You can adjust the speaking rate and volume from the Speech panel in System Preferences if needed.
There are also a few third-party applications that offer more features and customization options for text-to-speech on Mac. If you need something more robust than what’s built into macOS, definitely check out one of these apps!
How to Use Text To Speech on Mac
Text to Speech on Mac
Assuming you would like a blog post discussing how to use the text to speech feature on Mac:
Most people know that Mac has a built-in text-to-speech function. This is useful for when you want your computer to read something out loud, such as an eBook or a document.
But did you know that you can also save the spoken text as an audio file?
Here’s how:
Open the document or file that you want to have read out loud.
Select the portion of text that you want to hear. Right-click (or Control+click) the selected text and choose Speech > Start Speaking from the shortcut menu that appears. To stop speaking, right-click (or Control+click) again and choose Speech > Stop Speaking from the shortcut menu.
To save the spoken text as an audio file:
With the desired portion of text still selected, choose File > Export As from the Finder menu bar. In the Export As dialog box that appears, select Audio Files from the Format drop-down menu.
Click Export. In the next dialog box that appears, give your new audio file a name and choose where you want to save it.
/iOSSpokenContent-0e71ddcbef89402b8ec0cbc5f1a3329f.jpg)
Credit: www.lifewire.com
How Do I Get to Voice Read on Mac
Assuming you mean how do you enable VoiceOver, the built in screenreader for macOS:
1. Open System Preferences (either from the menu at the top left of your screen, or by searching for it in Spotlight).
2. Select Accessibility from the bottom row of options.
3. Click on VoiceOver in the list of options on the left side of the window.
4. Check the box next to “Enable VoiceOver” near the top of the window.
How Do I Enable Voice Read on Mac
Assuming you would like to enable VoiceOver, the built-in screen reader for Mac:
1. Open System Preferences by clicking on the icon in the Dock or using Spotlight.
2. Select Accessibility from the bottom of the System Preferences window.
3. Click on VoiceOver in the left menu pane.
4. In the main pane, check “Enable VoiceOver”
5. Optionally, use the “Set Keyboards Shortcuts…” button to customize keyboard commands for controlling VoiceOver
How Do I Use Voice Read on Mac
Assuming you would like to know how to use the Voice Read function on a Mac computer, here are some quick and easy steps:
1. Open up the document or file that you want to have read aloud.
2. Click on the Edit menu at the top of your screen and select Speech.
Alternatively, you can also press Command + Shift + U on your keyboard as a shortcut.
3. A new window should pop up with various options related to text-to-speech. Under the Text To Speech tab, check the box next to Enable Type To Speech and hit OK when prompted.
4. Now go back to your document and highlight the portion of text that you want read out loud by clicking and dragging your mouse over it.
5. With your text highlighted, click on Edit again at the top of your screen (or press Command + E) and this time select Start Speaking from the drop-down menu. The selected text will now be read aloud by your computer!
Conclusion
In order to get your Mac to read text aloud to you, there are a couple different methods you can use. One way is to select the text you want read and then press ⌘ + Option + Esc. Another way is to go into System Preferences > Accessibility > Speech, and then check the “Speak selected text when the key is pressed” box.
Once that’s checked, you can highlight any text and press ⌃ Control + Option + Esc to have it read aloud.