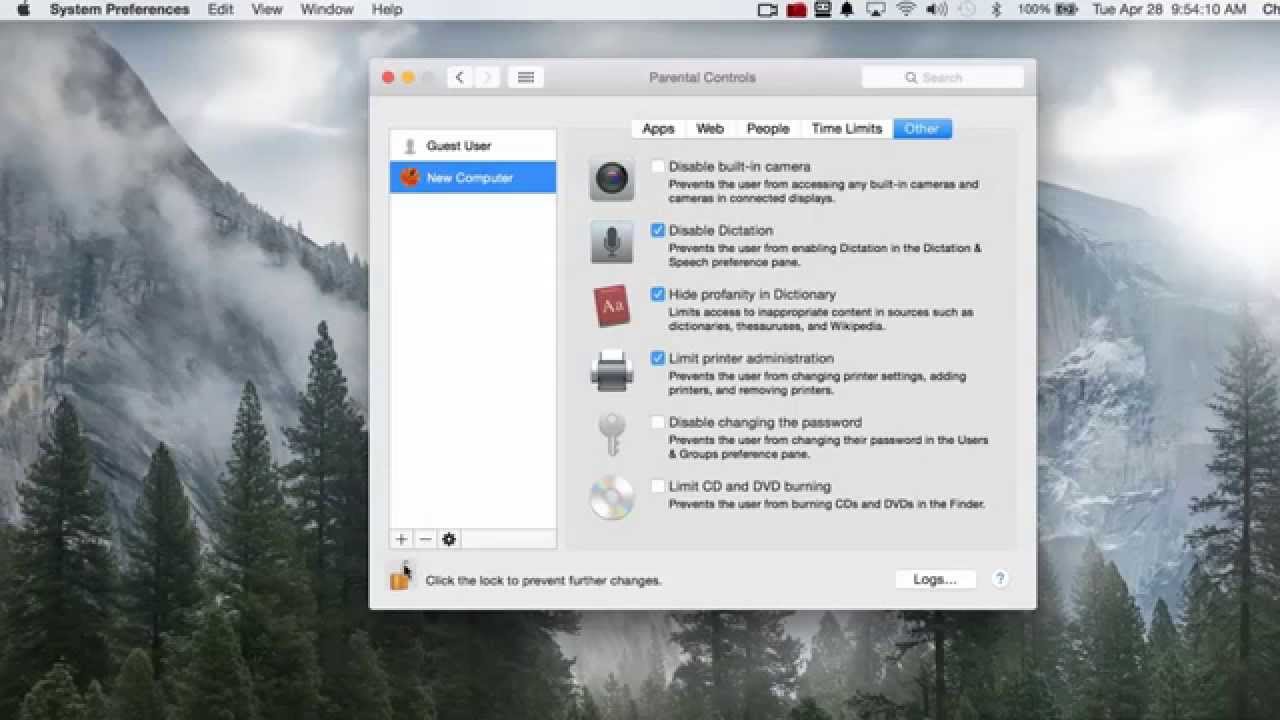
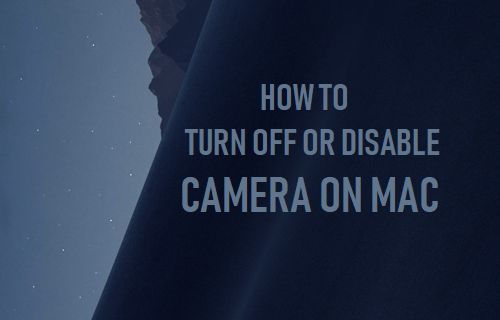
How Do I Disable Camera on Mac
It’s no secret that many people are concerned about privacy nowadays. So, if you’re one of those people who want to disable your Mac’s camera, here’s how to do it. First, open System Preferences and click on Security & Privacy.
Then, click on thePrivacy tab and select Camera in the left sidebar. Finally, uncheck the box next to Allow applications to access the camera. That’s it!
Your Mac’s camera is now disabled and no one will be able to use it without your permission.
If you’re concerned about privacy or security, you may want to disable your Mac’s built-in camera. While there’s no physical way to disable the camera, you can use a software tool to prevent it from being used.
There are a few different ways to go about this.
One option is to use the Terminal app to enter a command that will effectively disable the camera. Another option is to download and install a third-party app that will do the same thing.
If you choose to use Terminal, simply launch the app and type in the following command: sudo killall VDCAssistant.
This will stop the process that controls the camera, effectively disabling it.
If you prefer using a third-party app, there are many options available (just do a quick search). We recommend CamGuardian, which is free and easy to use.
Once installed, just launch the app and click “Disable Camera.” That’s all there is to it!
How to Disable Camera on Mac | How to Turn off Mac's Built in Camera? (2022)
How to Disable Camera on Mac Chrome
We all know that we can disable the camera on our computers to prevent people from secretly recording us. But did you know that there is a way to disable the camera on Mac Chrome? Here’s how:
1) Open your Mac’s System Preferences.
2) Click on the Security & Privacy icon.
3) Click on the Privacy tab.
4) Scroll down to the Camera section and select the checkbox next to Disable Camera.
5) Close out of System Preferences and restart your computer for the changes to take effect.
Now, whenever you open up Chrome, your camera will be disabled and no one will be able to record you without your knowledge!
Credit: www.techbout.com
How Do I Disable the Built in Camera on My Macbook And Mac?
If you want to disable the built-in camera on your Macbook or Mac, there are a few different ways that you can do this. One way is to go into your System Preferences, and then click on the Security & Privacy icon. From here, you will want to click on the Privacy tab, and then find the Camera section.
There will be a list of applications that have access to your camera, and you can simply uncheck the ones that you don’t want to use it.
Another way to disable your camera is to open up Terminal (located in Applications > Utilities). Once Terminal is open, type in “sudo killall VDCAssistant” without the quotation marks.
This will turn off your camera completely until you reboot your computer.
Why Won’T My Camera Turn off on My Mac?
If your camera won’t turn off on your Mac, there are a few things you can try to fix the issue. First, make sure that the software for your camera is up to date. If it’s not, update it and see if that fixes the problem.
If not, try restarting your computer. Sometimes this can clear up any issues with the camera software. Finally, if neither of those solutions work, you may need to reset your SMC (System Management Controller).
This will reset all settings on your Mac, so be sure to back up any important files before doing this. To reset your SMC, follow these steps: 1. Shut down your Mac.
2. Unplug the power cord from your Mac and wait for about 15 seconds 3. Plug the power cord back in and wait for 5 seconds 4. Turn on your Mac If none of these solutions work, you may need to take your computer to an Apple Store or authorized service provider to have them take a look at it.
How Do I Turn off the Green Light on My Mac Camera?
If you’re concerned about privacy and want to make sure your Mac camera is turned off, here’s how to do it.
First, open System Preferences by clicking the Apple icon in the top left corner of your screen and selecting “System Preferences.”
In System Preferences, click on “Security & Privacy.”
On the Security & Privacy pane, select the “Privacy” tab.
Underneath the “Privacy” heading, you’ll see a list of different types of data that can be accessed by applications on your computer. To prevent apps from accessing your camera, select “Camera” from this list.
On the right side of the screen, you’ll see a list of all the apps that have requested access to your camera. To turn off access for an app, simply deselect its checkbox. You can also choose to allow access to your camera only when the app is open; to do this, select the checkbox next to an app and then choose “Allow access only when using this app” from the drop-down menu.
How Do I Disable My Camera?
Are you looking to disable your camera because you’re concerned about privacy, or because you’re having technical difficulties? In either case, there are a few different ways to go about it.
If you’re simply looking to turn off your camera so that it can’t be used, most devices have a physical switch that will disable the camera.
For example, on many laptops there is a switch next to the webcam that will physically block the lens. If your device doesn’t have a physical switch, you can usually disable the camera in the settings menu.
If you’re looking to disable your camera because it’s not working properly, the first thing you should do is restart your computer.
This will often fix any minor software glitches that may be causing problems. If that doesn’t work, try uninstalling and then reinstalling the webcam drivers.
Conclusion
If you’re concerned about privacy or security, you may want to disable the camera on your Mac. Here’s how:
Open System Preferences and select Security & Privacy.
Click the Privacy tab and select Camera in the left sidebar.
Check the box next to Disable built-in camera.